Are you planning to start a garden but unsure how to prepare the soil properly? Whether you’re a first-time gardener or an experienced one, preparing the soil is one of the most crucial steps to ensure your plants thrive. Proper soil preparation can be the difference between a flourishing garden and one that struggles to grow. In this guide, we’ll walk you through everything you need to know about how to prepare the soil for planting, from testing the soil’s pH to amending it for optimal plant growth.
Read more: Top 10 Best Plants That Improve Soil Quality, Making Your Whole Garden Thrive
Why Is Soil Preparation Important?
Before we dive into the details of soil preparation, let’s understand why it’s so important. Healthy soil provides essential nutrients, structure, and drainage for your plants. If the soil is too compacted, acidic, or lacking nutrients, your plants may not grow properly. Preparing the soil helps to:
- Improve soil structure for better root growth
- Adjust the soil pH to suit specific plants
- Enhance nutrient availability
- Improve drainage and moisture retention
When soil is prepared properly, your plants will have a better chance of growing strong, healthy, and productive.
Step 1: Test the Soil pH
One of the first things you need to do when preparing your soil is to test its pH. The pH of the soil affects how well your plants can absorb nutrients. Some plants prefer acidic soil (pH less than 7), while others prefer alkaline soil (pH above 7). A neutral pH of around 6 to 7 is ideal for most plants.
You can easily test your soil’s pH using a soil test kit, which is available at most garden centers. Alternatively, you can send a sample of your soil to a local agricultural extension office for more precise testing.
What do you do if your soil is too acidic or too alkaline?
- For acidic soil (pH below 6): Add lime or wood ash to raise the pH.
- For alkaline soil (pH above 7): Add sulfur or peat moss to lower the pH.
Step 2: Loosen the Soil
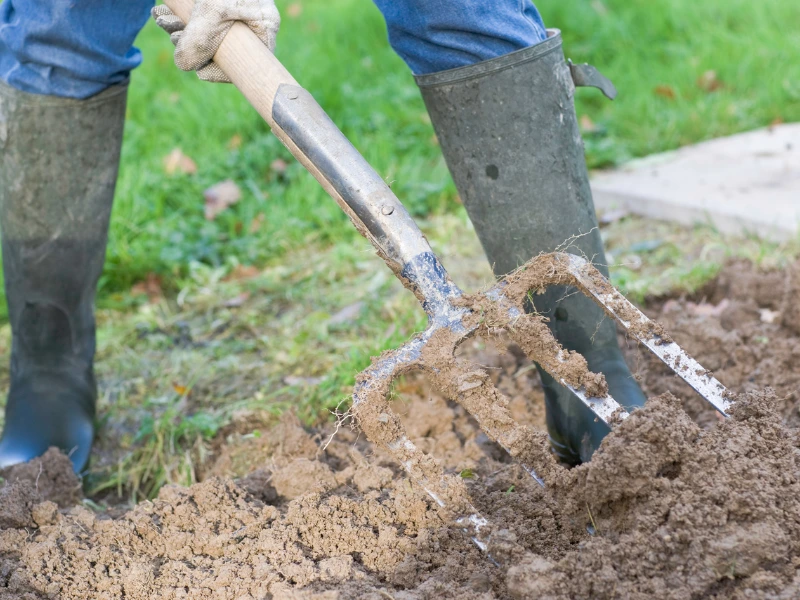
The next step is to loosen the soil to improve air circulation and allow the roots of your plants to grow freely. Compacted soil can restrict root development and make it harder for water and nutrients to reach the plants. You can loosen the soil in the following ways:
- Digging: If you have a small garden, you can use a spade or shovel to dig and loosen the soil. Make sure to dig at least 6-8 inches deep for most plants.
- Tilling: For larger gardens, a garden tiller can help break up compacted soil quickly and efficiently.
- Aeration: For established lawns or flower beds, using an aerator can also help to loosen compacted soil.
Step 3: Add Organic Matter
To improve the soil’s texture, fertility, and water retention, it’s essential to add organic matter. Organic matter enriches the soil with nutrients and helps improve drainage. Here are a few options to consider:
- Compost: Compost is one of the best soil amendments. It improves the soil’s structure and provides essential nutrients to your plants.
- Manure: Well-rotted animal manure (from cows, chickens, or horses) is another great addition. Just make sure it’s well-composted to avoid burning your plants.
- Peat Moss: Peat moss helps to improve soil structure, especially in sandy or clayey soils, by increasing moisture retention.
Spread a layer of organic matter over the soil, and then work it into the top 6-8 inches of soil. The organic material will improve both the nutrient levels and the water-holding capacity of the soil.
Step 4: Improve Drainage (If Needed)
Good drainage is essential for most plants. If the soil retains too much water, it can lead to root rot, mold, and other issues. To improve drainage, consider the following:
- Sand: Mix coarse sand into clay-heavy soil to break it up and increase drainage.
- Perlite or Vermiculite: These lightweight materials can be added to improve aeration and drainage.
- Raised Beds: If your soil has serious drainage issues, raised beds can be a solution. These allow the plants to have better-draining soil, which promotes healthier growth.
Step 5: Add Fertilizer (If Necessary)
Once the soil is properly amended and loose, it’s time to consider adding fertilizer. Fertilizers provide essential nutrients to the soil, such as nitrogen, phosphorus, and potassium. However, it’s important not to over-fertilize, as this can burn the plants.
When to add fertilizer:
- Before planting: If your soil test indicates that nutrient levels are low, it’s best to add fertilizer before planting. Use a balanced fertilizer with equal parts nitrogen (N), phosphorus (P), and potassium (K).
- After planting: You can also add a slow-release fertilizer or organic options like bone meal and blood meal once your plants start growing.
Step 6: Clear the Area of Weeds
Weeds are not only unsightly but also compete with your plants for nutrients, water, and sunlight. It’s crucial to clear the soil of any weeds before planting. You can remove weeds by:
- Manual pulling: Simply pull out weeds by hand, especially in smaller gardens.
- Using a hoe or weed remover: For larger areas, use a hoe to remove weeds more efficiently.
- Mulching: After planting, apply a layer of mulch around your plants. This will suppress weed growth, conserve moisture, and keep the soil temperature consistent.
Step 7: Level the Soil
After loosening the soil, adding amendments, and removing weeds, you should level the soil. A level surface helps ensure even watering and good seed-to-soil contact. You can use a garden rake to smooth out the soil and create an even planting surface.
Step 8: Let the Soil Settle
After preparing the soil, it’s a good idea to let it settle for a day or two before planting. This allows any added amendments and fertilizers to mix properly with the soil. It also helps to prevent soil compaction.
Tips for Specific Plants
- Vegetable Gardens: For vegetables like tomatoes and peppers, it’s essential to use well-draining, nutrient-rich soil. These plants need plenty of sunlight, so choose a spot with at least 6-8 hours of direct sunlight each day.
- Flowers: For flower beds, the soil should be slightly acidic to neutral, depending on the type of flowers you are planting. Ensure the soil is well-amended with organic matter for vibrant blooms.
- Lawns: Lawns typically prefer a neutral pH (around 6.5 to 7). Use a lawn fertilizer that provides essential nutrients for grass growth and water regularly.
Conclusion
Now that you know how to prepare the soil for planting, it’s time to get your hands dirty and start your garden! Remember that healthy soil is the foundation of a successful garden, so take your time to prepare it properly. By testing the pH, adding organic matter, improving drainage, and fertilizing as needed, you’ll set yourself up for a bountiful and beautiful garden.
Frequently Asked Questions
-
How often should I test my soil’s pH?
- It’s a good idea to test your soil every year or whenever you notice poor plant growth.
-
Can I prepare soil for planting in the fall?
- Yes, fall is actually a great time to prepare soil for the next planting season. Just make sure to give it time to settle before planting.
-
What’s the best way to loosen compacted soil?
- Using a garden tiller or digging by hand can help break up compacted soil and improve root growth.
-
Should I use chemical fertilizers or organic options?
- Organic options are often preferred as they improve soil health over time, but chemical fertilizers can be used when specific nutrients are needed.
By following these steps, you’ll be well on your way to creating a garden that thrives with healthy, happy plants. Happy gardening!