The Jerusalem Artichoke (Helianthus tuberosus) is a powerhouse perennial vegetable that every backyard homesteader should have in their arsenal. Known for its towering stalks of cheerful, sunflower-like yellow blossoms and a bounty of crunchy, nutty-flavored tubers hidden beneath the soil, this plant is much more than just a pretty face.
Its common name is a bit of a historical mix-up; it’s not from Jerusalem, and it’s not an artichoke! Native to North America, these rugged plants (also called sunchokes) have become a staple in permaculture food forests and self-sustaining gardens across the country.
Gardeners prize it as a productive champion, a single planted tuber can multiply into a bucketful of gourmet food by autumn. While these plants are incredibly hardy and resilient, they are famous for their ability to thrive in poor soils and return year after year without an invitation.
I remember the first time I ordered Jerusalem artichoke tubers online. They arrived in a mesh bag, looking like nothing more than knobby, dirty little potatoes. I was skeptical. I buried them in a sun-drenched, somewhat neglected strip along my garden fence. By mid-summer, I had a living green wall over eight feet tall that blocked out my neighbor’s driveway and loaded my pantry with homegrown food all winter.
If you want to turn a patch of dirt into a high-yielding, self-sustaining food source, learning how to grow Jerusalem artichokes from tubers is the single best move you can make. Let’s get your hands dirty and walk through exactly about growing Jerusalem artichokes right the first time.
Why Grow Jerusalem Artichokes from Tubers?
You might wonder why we don’t just buy Jerusalem artichoke seeds. Here is the secret: you won’t find sunchoke seeds in your local garden center. Propagating Jerusalem artichokes via tubers is the only reliable way to grow them. It ensures you get an exact clone of a high-yielding variety, and it skips the slow, finicky seedling stage entirely.
The Underground Abundance
In the world of survival gardening, the sunchoke is the gold standard for calorie production. It is a carbohydrate powerhouse. When you plant one tuber, it shoots up a massive root system that mines nutrients from the soil, converting sunlight into a massive cluster of new tubers. It’s basically giving your household a free, continuous supply of starchy, prebiotic-rich food.
A Natural Sunscreen and Windbreak
Growing sunchokes provides you with a living vertical structure. Because they easily shoot up to 10 feet or more, they act as a fantastic summer windbreak or shade screen. Got a flock of chickens or a patch of delicate lettuce that needs relief from the scorching afternoon sun? Plant a row of sunchokes on the south side, and let nature do the engineering.
Best Time for Sunchoke Planting
Timing is everything when it comes to tuber planting. While Jerusalem artichokes are incredibly cold-hardy (thriving all the way down to USDA Zone 3), you want to give those underground energy pods the best start.
When to Plant
The best time to plant your Jerusalem artichoke tubers is in the early spring, as soon as the soil can be worked and is no longer a frozen block. In milder climates, you can even plant them in late autumn, allowing them to chill over the winter and wake up naturally when spring arrives.
Choosing Your Tubers
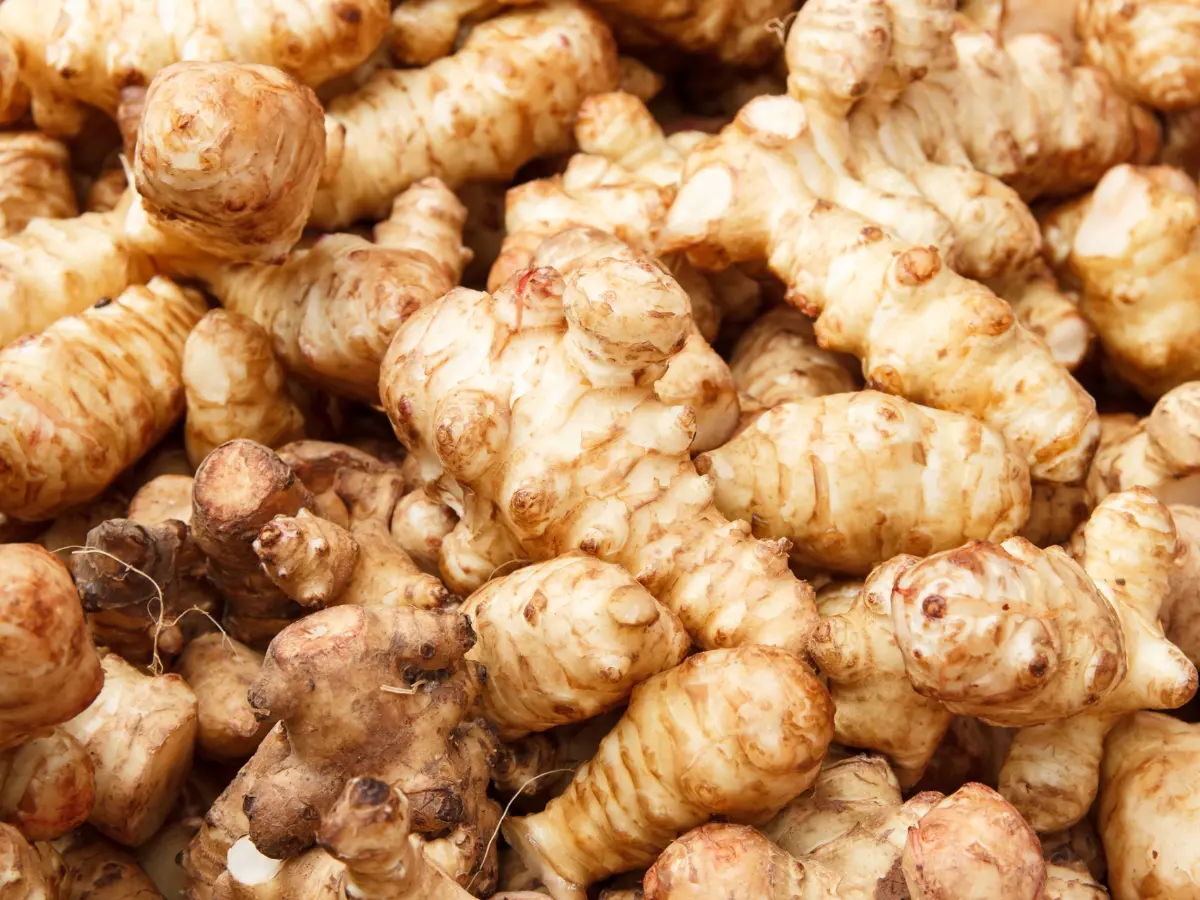
When selecting your planting stock, whether from a nursery or the organic section of your grocery store, look for tubers that are firm and plump, not shriveled or mushy. Don’t worry if they are knobby and irregular; those weird shapes are packed with the stored energy needed to push massive stalks through the dirt.
How to Plant Jerusalem Artichoke Tubers
Step 1: Site Selection and Soil Preparation
Pick a “forever home” for your sunchokes. Because they are so resilient, once they are established, they are very hard to get rid of. Any tiny piece of tuber left behind in the soil next winter will happily grow into a brand-new plant.
Sunchokes love full sun but can handle partial shade. They thrive in loose, well-draining soil but aren’t fussy about fertility. If your soil is heavy, compacted clay, dig in a little compost or leaf mold to help the tubers expand without wrestling the earth.
Step 2: Spacing and Planting Depth
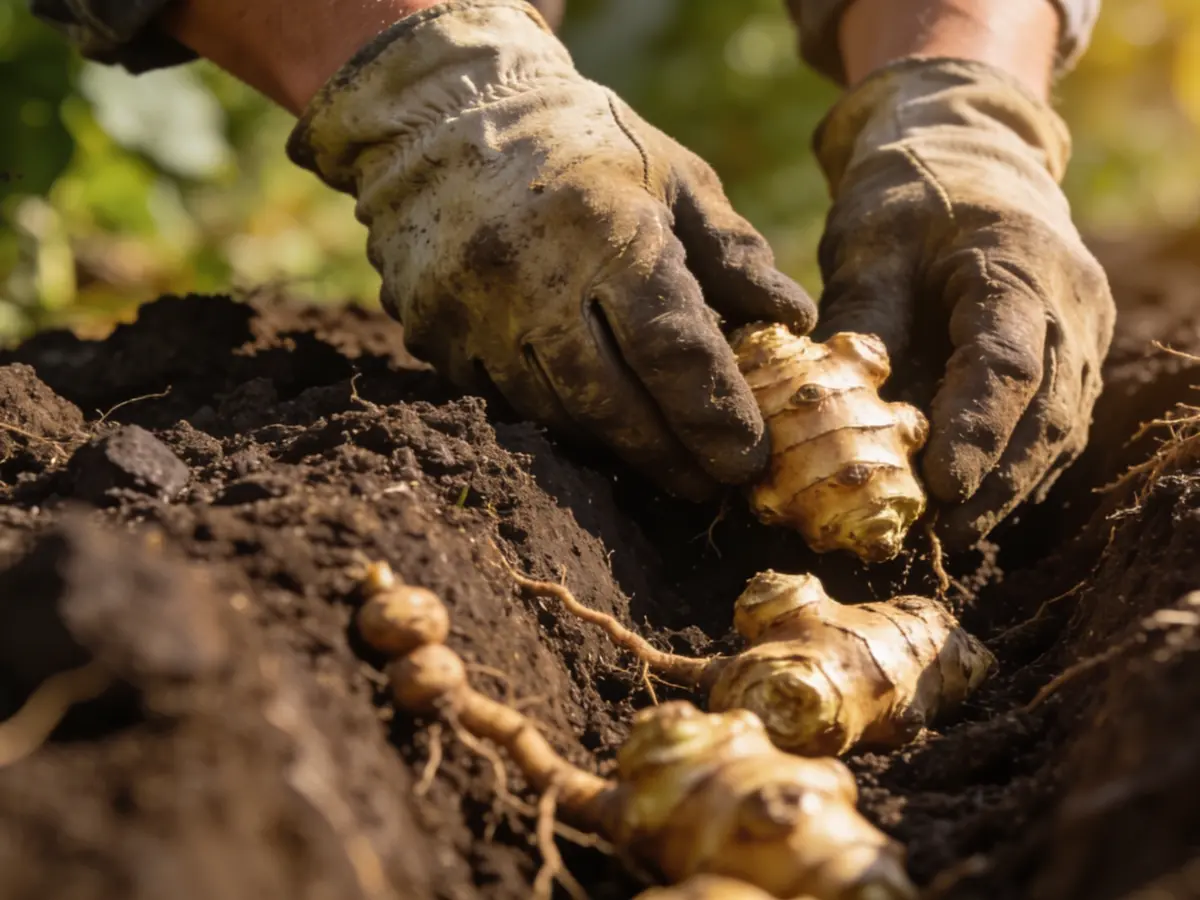
Space your tubers about 12 to 18 inches apart. It might seem close now, but remember, these plants grow tall and bushy.
For the depth, aim for 4 to 6 inches below the soil surface. This protects the tubers from late frosts and gives the heavy stalks a strong anchorage against summer storms.
Step 3: Which Way is Up?
This is where most beginners get nervous when planting tubers. Take a close look at the sunchoke; you will see small bumps or “eyes” (just like a potato). If you can see prominent eyes or little white nubs, plant those facing upward. If it just looks like a confusing, knobby ball, plant it horizontally. Sunchokes are smart; they will figure out which way is up. Just lay it in the trench and cover it with soil.
Step 4: Watering and Mulching
Water the area thoroughly right after planting to settle the soil around the tubers and eliminate any air pockets. Adding a 2-inch layer of straw or wood chips on top helps retain moisture and keeps early weeds from stealing your plants’ sunlight.
Planting Your Tubers: Ground or Containers?
Now that your tubers are ready, you need to decide on their permanent setup.
-
In the Ground: Choose an isolated corner or a dedicated bed because once sunchokes are established, they are nearly impossible to remove entirely. Plant them 4-6 inches deep, spaced 12-18 inches apart.
-
In Pots: If you are worried about them taking over your garden, start them in large containers (at least 15-20 gallons, like fabric smart pots). Ensure the pots have excellent drainage and keep them in a sun-drenched spot.
-
Added tip: Fabric grow bags are perfect for controlling growth while still making harvest time as simple as tipping the bag over!
Caring for Your Sunchokes After Planting
For the first few weeks, your main job is patience.
-
Watering: Keep the soil consistently moist but never waterlogged. Once the plants reach a couple of feet tall, they become remarkably drought-tolerant, but “baby” tubers need steady hydration to build their initial root network.
-
Weeding: Keep the patch clear of aggressive grasses for the first month. Once the sunchokes shoot up past two feet, their massive leaves will naturally shade out and smother any competition.
-
The Waiting Game: You should see bright green shoots popping out of the ground in 2 to 4 weeks. Once they start growing, they don’t stop—expect them to grow several inches a week during the peak of summer!
Common Mistakes to Avoid
Even though growing Jerusalem artichokes from tubers is a relatively foolproof process, I have seen friends struggle with a few common issues:
-
The “Oops, They’re Everywhere” Mistake: I once planted sunchokes right in the middle of my vegetable crop rotation bed. Big mistake. I spent three years digging up rogue shoots because I didn’t give them an isolated “forever spot.”
-
Overwatering in Soggy Soil: If your planting site sits under a puddle every time it rains, your tubers will rot before they ever get a chance to sprout. Good drainage is key.
-
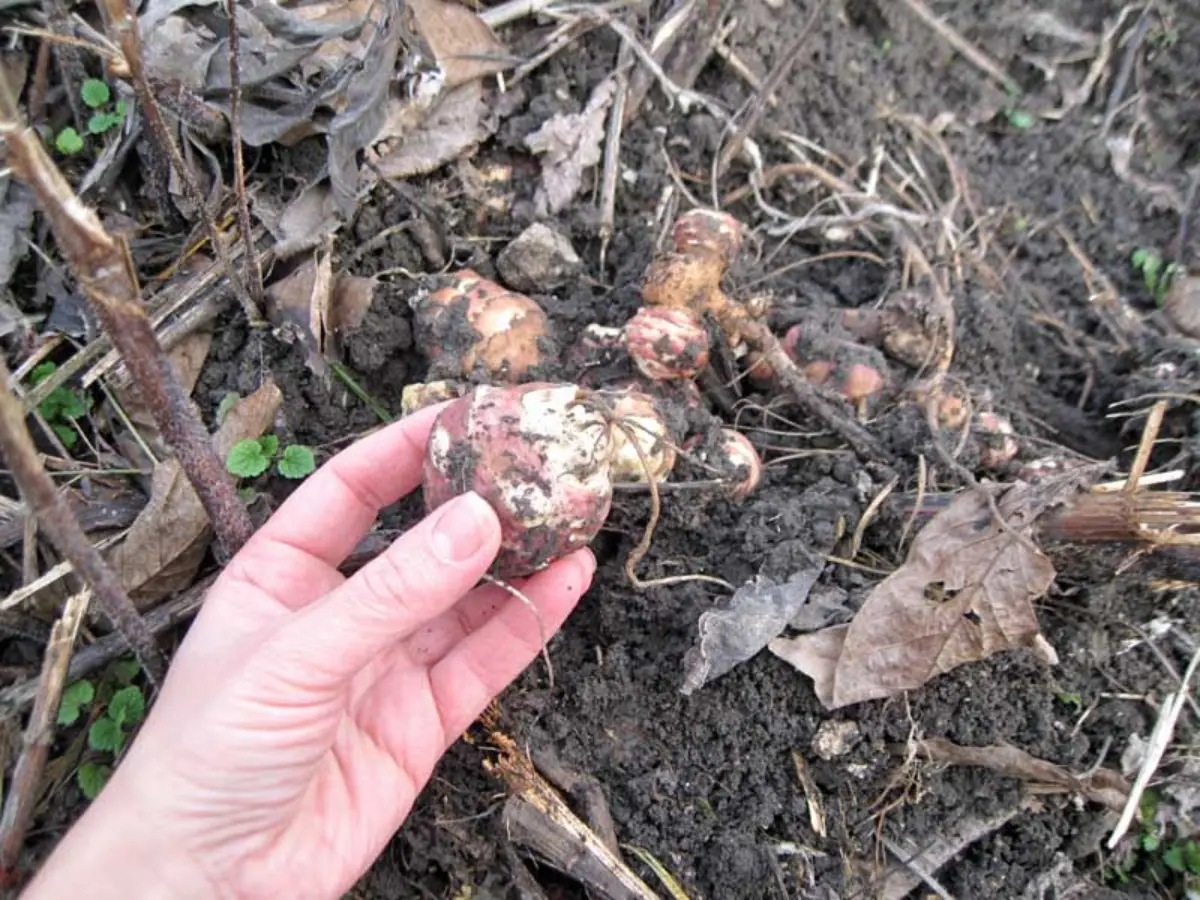
Harvesting Too Early: If you dig them up in August when the flowers look pretty, your tubers will be small, watery, and tasteless. Wait for the frost!
-
Planting Shallow: If you bury them only an inch deep, the towering summer stalks will catch the wind like a sail and tip over, exposing the roots. Stick to the 4-to-6-inch rule.
How to Harvest and Use Your Homegrown Sunchokes

Once your plants have put on their late-summer flower show and the autumn frost hits, the real fun begins.
-
The Frost Sweetening: Don’t harvest until the first hard frost kills the top growth. The cold triggers the plant to convert its starches into inulin, making the tubers incredibly sweet and nutty.
-
The Continuous Harvest: You don’t have to dig them all up at once. Sunchokes store beautifully right in the frozen ground. Just head out with a garden fork and dig up what you need for dinner throughout the winter.
-
In the Kitchen: Scrub them clean (no need to peel!). Slice them thin and fry them into chips, roast them with olive oil and garlic, or blend them into a rich, creamy winter soup.
Frequently Asked Questions (FAQs)
Can I grow Jerusalem artichokes in small pots?
Yes, but size matters. You need a container that is at least 15 to 20 gallons to get a worthwhile harvest. Anything smaller will cramp the tubers, and the wind will easily blow the top-heavy pot over.
Why do people call them “fartichokes”?
Let’s be candid: sunchokes are rich in inulin, a prebiotic fiber that your gut bacteria absolutely love. If your digestive system isn’t used to high fiber, it can cause significant gas. The secret to avoiding this is to harvest them after a hard frost and cook them slow and low, or pickle them!
Do I need to fertilize them?
Not really! They are the ones who excel at mining nutrients from deep down. However, a light top-dressing of compost in the spring will keep them producing massive, top-tier yields year after year.
Conclusion
Growing Jerusalem artichokes from tubers is an incredibly rewarding way to build backyard food security for free. It’s a plant that gives back far more than it takes, providing beautiful summer blooms for the bees, a privacy screen for your yard, and a massive winter bounty for your table. By following these simple steps, you are not just planting a vegetable; you are installing a permanent calorie pump in your garden.
Are you ready to boost your garden’s yields? Grab your shovel, find some plump tubers, and start your journey to growing the ultimate garden ally today!
You may like: